
If you’re a portrait photographer who spends hours culling, developing, and editing your sessions, it’s time to speed things up. Lightpanel is the best Lightroom portrait editing plugin for streamlining your entire workflow — and it works right inside Lightroom Classic.
Video Tutorial: Edit Outdoor Portraits Faster with Lightpanel
In this quick tutorial, we’ll show how to use Lightpanel to:
- Automatically cull your portrait sessions
- Instantly auto-develop photos using AI
- Make local adjustments like darkening skies and enhancing subjects
- Batch edit similar photos to save even more time
🎥 Prefer to watch on Youtube? Here’s a link to the full video: Watch on YouTube
Why Use Lightpanel for Outdoor Portraits?
Lightroom is great for cataloging and global adjustments, but it’s not optimized for fast-paced portrait workflows. Lightpanel picks up where Lightroom leaves off — helping you move from thousands of RAWs to polished, professional portraits without switching apps.
Key benefits:
- Culling assistance with AI face, blur, and duplicate detection
- AI-powered auto-tone for quick, clean base edits
- Local AI masks for skies and subjects
- Seamless integration with Lightroom Classic
Step-by-Step: Lightpanel in Action
1. Culling Smarter, Not Slower
Once your images are imported into Lightroom, launch ON1 Pro – Lightpanel. It automatically scans your session to detect:
- Duplicate images
- Out-of-focus shots
- Closed eyes or bad expressions
This makes it incredibly easy to identify your best frames. Use Lightroom’s built-in shortcuts (like hitting 5 for 5-star ratings) to tag your selects and move them into a dedicated folder.
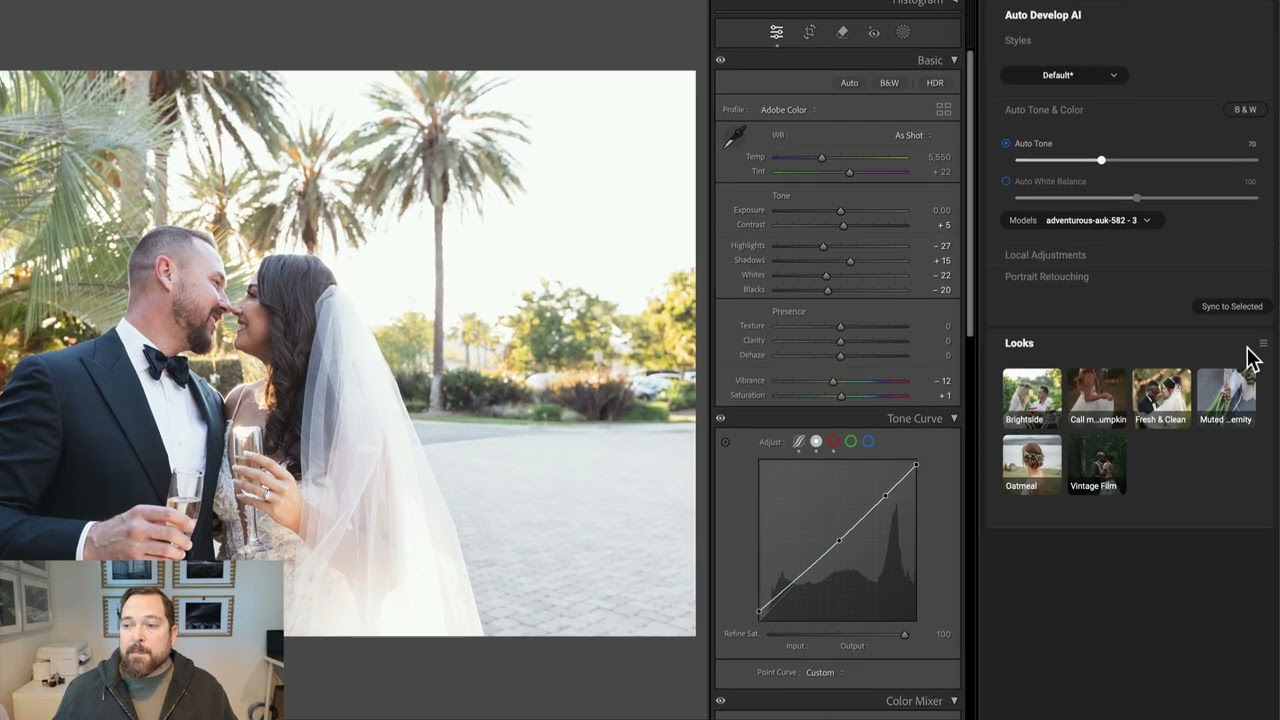
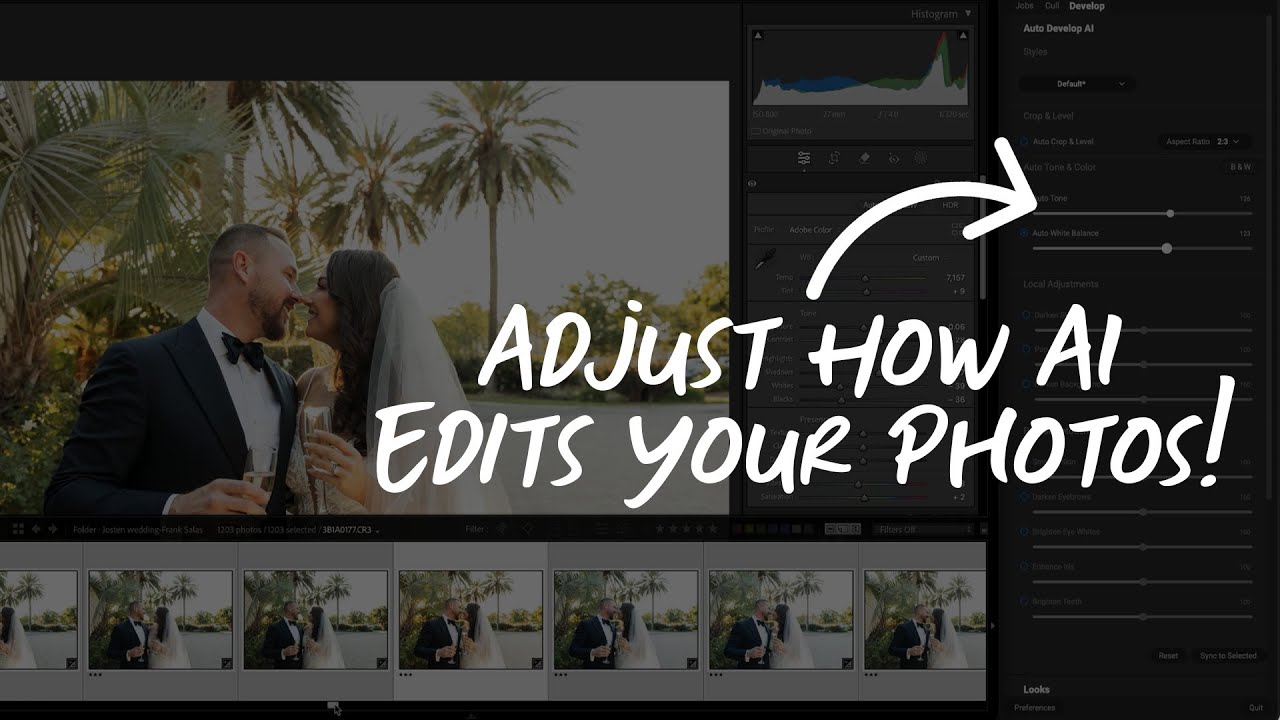
2. Auto-Develop with AI
Select one of your favorite shots and apply Lightpanel’s Auto Tone feature. It uses AI to intelligently adjust:
- Exposure
- Contrast
- Highlights
- Shadows
This gives you a clean, well-balanced image to start with — and it updates Lightroom’s develop settings in real time.
💡 Tip: You can fine-tune the strength of the auto tone using a single slider.
3. Make Local Adjustments (Fast)
Now jump into Local Adjustments. In the video, we see two powerful tools in action:
- Darken Sky: Lightpanel auto-detects the sky and tones it down to reduce distraction in outdoor portraits.
- Pop Subject: It finds your subject, applies a mask, and enhances light and clarity to make them stand out beautifully.
These AI-powered tools eliminate the need for manual masking — saving you serious time.
4. Batch Apply for Consistency
Once you’ve dialed in a look you love, apply those settings across similar shots in your session. This keeps your edits consistent and cuts down on repetitive adjustments.
The Result: Polished Portraits in Minutes
With just a few clicks, ON1 Pro – Lightpanel helps you:
✅ Cull faster
✅ Auto-develop clean base edits
✅ Make targeted adjustments in seconds
✅ Batch edit for speed and consistency
And you do it all without leaving Lightroom.
Ready to give it a try?
Cut hours out of your editing workflow and deliver pro-quality portraits faster?
👉 Try Lightpanel Free for 30-Days
It’s the easiest way to level up your Lightroom editing — especially for high-volume portrait sessions.
Please review our our privacy policy for information about how we use the data we collect.